

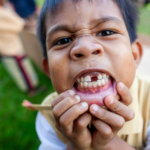



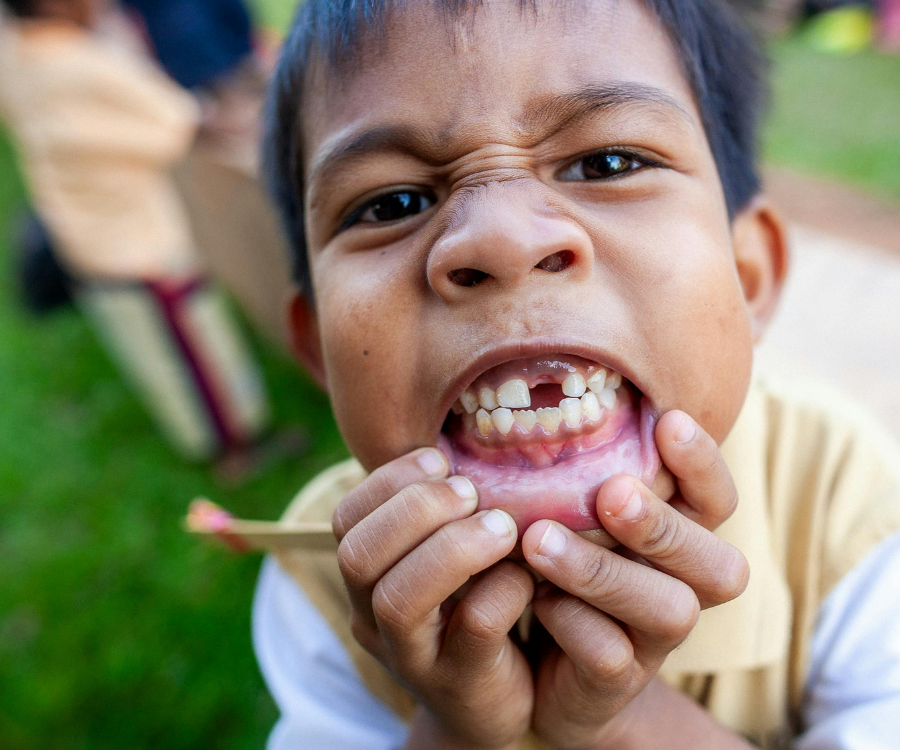
A knocked-out tooth is one of the most jarring emergencies a parent can face. Whether it happened on the playground, during sports, or from a slip on the living room floor, your immediate reaction dictates whether that tooth can be saved.
The most important rule right now: act quickly, but stay calm.
Step 1: Determine If It’s a Baby Tooth or an Adult Tooth
Before doing anything else, identify which kind of tooth came out. The response differs completely depending on the child’s age and dental development:
- Baby (Primary) Tooth: Do NOT reinsert it. Pushing a baby tooth back into the socket can damage the developing adult tooth germ resting directly beneath the gum line.
- Adult (Permanent) Tooth: This is a time-critical emergency. The periodontal ligament fibers on the root must stay alive. You have roughly 30 to 60 minutes to get the tooth safely back in place or to an emergency dentist for the highest chance of successful reimplantation.
Step 2: Immediate Action Protocol for an Adult Tooth
If the knocked-out tooth is permanent, follow these exact steps immediately:1.Handle Only the Crown:Avoid touching the root under any circumstances.
Pick the tooth up by the chewing surface (the white crown), never by the pointed root. Touching, scraping, or squeezing the root destroys the delicate cells required to reattach the tooth to the jawbone.2.Rinse Gently (If Dirty):No scrubbing, soap, or chemicals.
If the tooth fell in the dirt, rinse it briefly under cold running water or milk for no more than 10 seconds. Do not scrub it, wipe it with a cloth, or use disinfectants.3.Attempt Immediate Reinsertion:The safest place for the tooth is its socket.
Gently push the tooth back into its socket facing the correct direction. Have your child bite down softly on a clean piece of gauze, a paper towel, or a clean handkerchief to hold it steady.4.Store Safely if Reinsertion Fails:Never let the root dry out.
If the child cannot tolerate reinsertion or the tooth won’t seat comfortably, submerge it immediately in cold whole milk or a dedicated cell-preserving solution like Save-A-Tooth (Hank’s Balanced Salt Solution). If neither is available, have the child spit saliva into a clean cup and submerge the tooth in it. Do not store the tooth in plain tap water, as the osmotic pressure ruptures the root cells.
When to Go to the Emergency Room Instead
Dental trauma is frequently accompanied by head or facial injuries. Head straight to an emergency room or call urgent medical services if your child displays any of the following:
- Loss of consciousness, dizziness, disorientation, or vomiting (signs of concussion).
- Uncontrollable bleeding from the mouth that does not stop after 10 minutes of firm pressure.
- Suspected jaw fracture (the child cannot close their teeth together normally, or the jaw shifts unevenly).
- Deep lacerations through the lip, tongue, or cheek requiring sutures.
Preventing Future Dental Emergencies
While accidents happen, a few baseline habits drastically reduce the risk of permanent dental trauma:
- Custom Athletic Mouthguards: Over-the-counter boil-and-bite mouthguards offer basic protection, but custom-fit sports mouthguards from a pediatric dentist provide superior shock absorption during contact sports, martial arts, and skating.
- A Dedicated Dental First Aid Kit: Keep a small emergency kit in your vehicle or athletic bag containing sterile gauze pads, a small container, and saline or tooth-preserving fluid.
- Save Your Dentist’s Emergency Line: Keep your family or pediatric dentist’s after-hours phone number saved directly in your phone contacts.